Swipe left or right to navigate to next or previous post
Comprehensive tutorial on hosting the static site in AWS using S3, cloudfront, Certificate Manager and Route53 - part 2
09 Apr 2024
. category:
AWS
.
Comments
#AWS
#AWS S3
#AWS CloudFront
#AWS Route53
#AWS Certificate Manager

This is the part 2 of 2 of comprehensive tutorial on hosting the static site in AWS using AWS s3, AWS cloudfront, AWS Route53 and AWS certificate manager.
If you happen to come directly to this link, or you want to explore the part 1, Please visit Comprehensive tutorial on hosting the static site in AWS using S3, cloudfront, Certificate Manager and Route53 - part 1 . This is the final part of learning about hosting the static site in AWS using AWS s3, AWS cloudfront, AWS Route53 and AWS certificate
Major Steps for hosting the static sites:
- Step 1: Create a bucket
- Step 2: Edit Block Public Access settings
- Step 3: Enable static website hosting
- Step 4: Add a bucket policy that makes your bucket content publicly available
- Step 5: Configure an index document
- Step 6: Configure an index document
- Step 7: Test your website endpoint
- Step 8: Creating an SSL/TLS Certificate from AWS Certificate Manager
- Step 9: Configuring CloudFront Distributions for Website Delivery
- Step 10. Configuring Route53 for DNS Management
In this tutorial, we will learn about creating SSL/TLS certificate from AWS Certificate Manager, create cloudfront distribution and then finally configuring the route53 for DNS management.
Step 8: Creating an SSL/TLS Certificate for CloudFront
Steps to create the SSL/TLS certificate
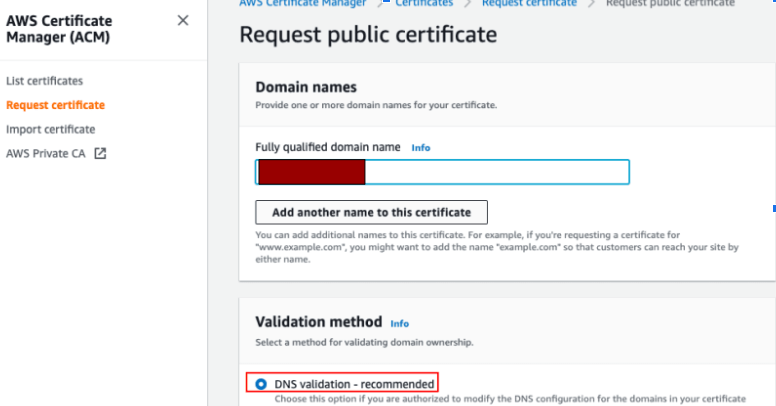
- Sign in to the AWS Management Console and open the AWS Certificate Manager(ACM) at https://us-east-1.console.aws.amazon.com/acm/home
- Click on Request a certificate
- Enter the custom domain name like tapanbk.com.np and the click on request
- Choose the certificate from the list of certificates from the AWS Certificate Manager list page
- Under domains, You will see the lists of domains and their CNAME name and CNAME value
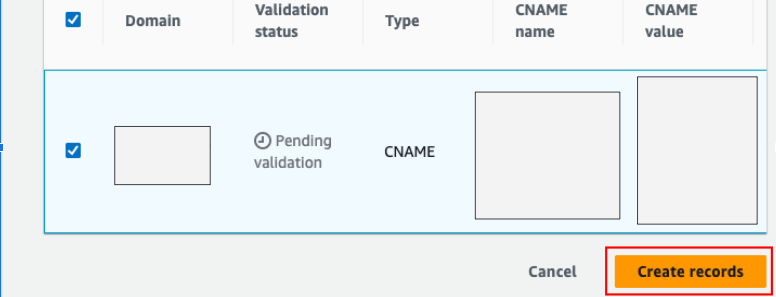
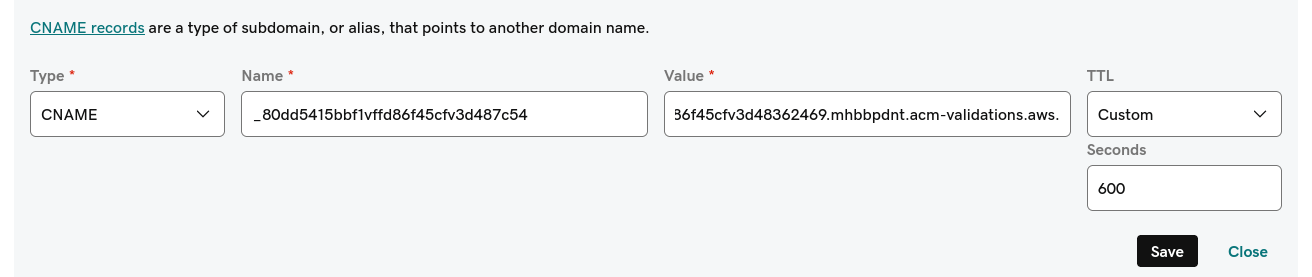
- Copy the CNAME name and CNAME value and update the CNAME record in the domain provider.
If your domain name is tapanbk.com.np and CNAME name is _80dd5415bbf1vffd86f45cfv3d487c54.tapanbk.com.np., in most of the cases, do not use the .tapanbk.com.np of the CNAME name, just use _80dd5415bbf1vffd86f45cfv3d487c54
- Wait few minutes until the certification status changes from pending validation to success
- In Domains section at right hand-side, click on Create records in Route53 and then
choose the domain records and then Create records
Step 9: Configuring CloudFront Distributions for Website Delivery
Steps to configure the cloudfront distributions
- Sign in to the AWS Management Console and open the CloudFront at https://us-east-1.console.aws.amazon.com/cloudfront
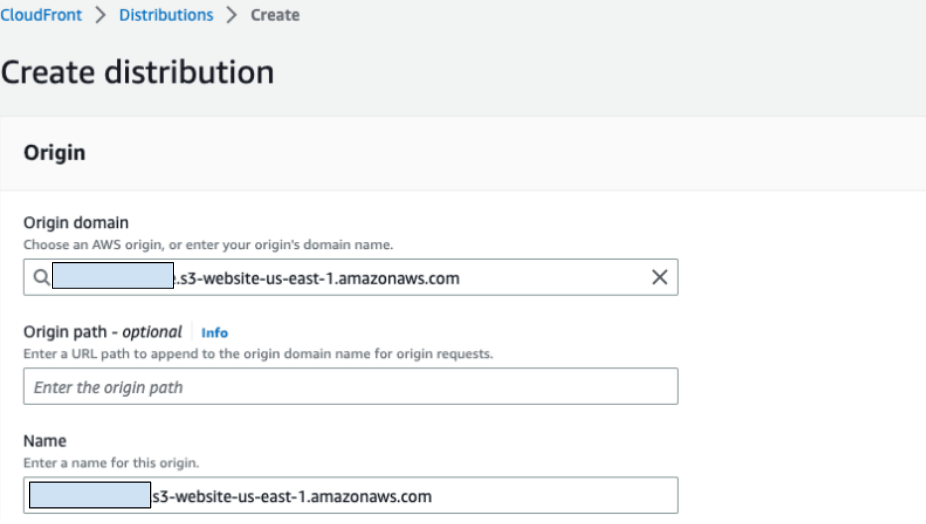
- Click on the Create cloudfront distribution
- Select the static site endpoint that is previously configured in the origin domain.
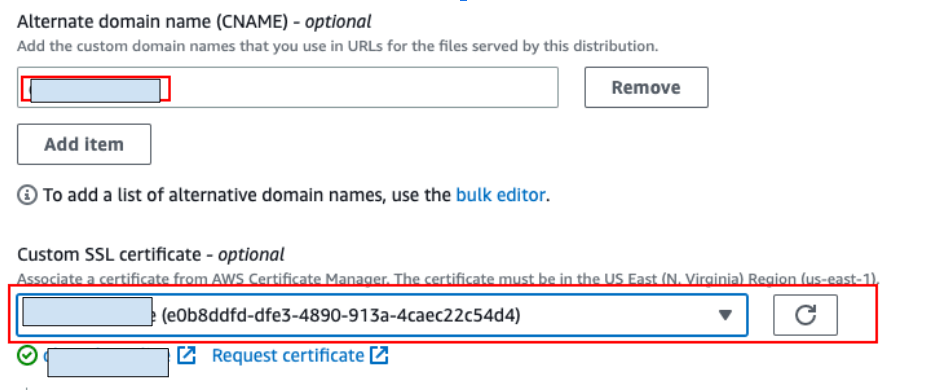
- Enter your domain name in the Alternate domain name(CNAME) field and select your certificate
in the Custom SSL certificate field
- Default root object field, type your website HTML file (index.html)
- Other settings can be set as default.
- Click on create a distribution.
- Go to the home page of the Cloudfront Distribution, under the domain name, copy the cloudfront domain

- Paste the domain in the browser. the static website should open as it opens for static website endpoint. The website should open in https
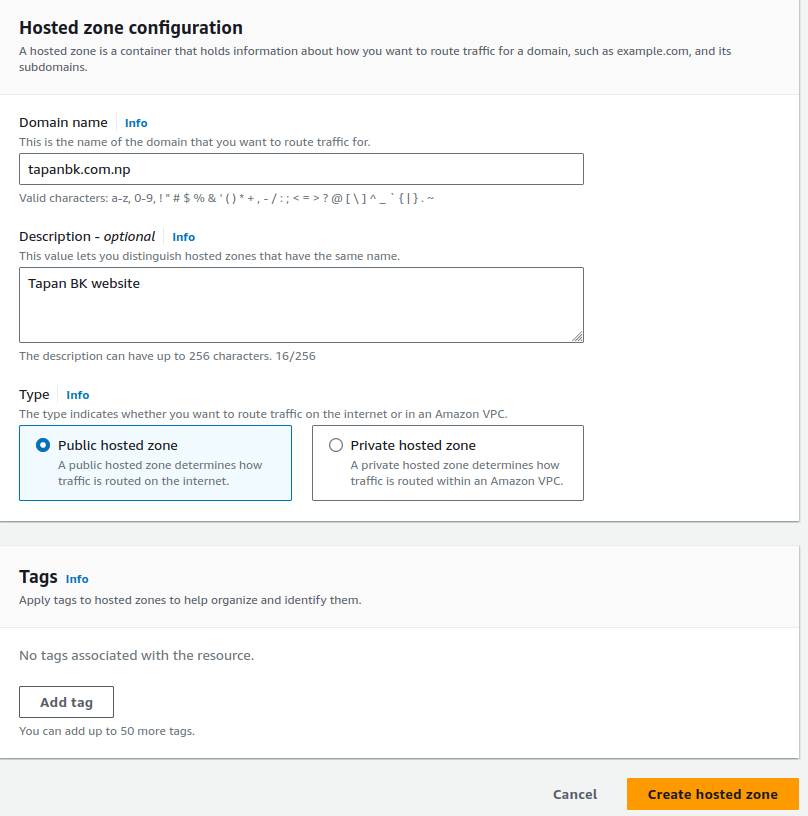
Step 10. Configuring Route53 for DNS Management

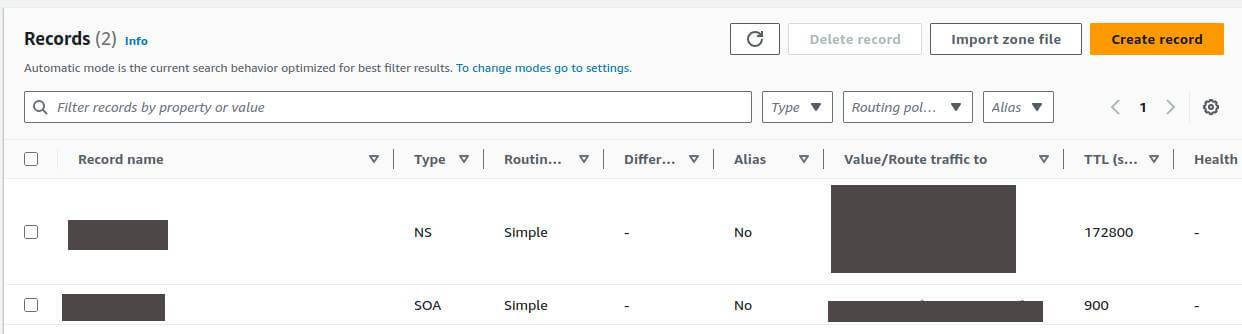
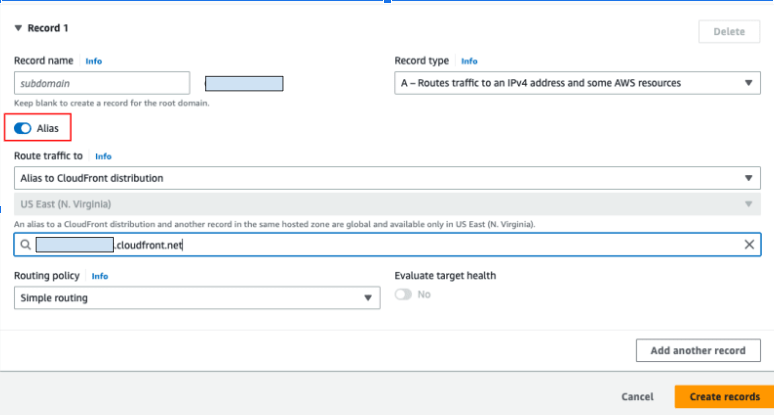
Update the cloudfront distribution domain name as CNAME record in the domain provider

You are ready to access the content of AWS s3 using the custom own domain.
Final Notes
If you happen to come directly to this link, or you want to explore the part 1, Please visit Comprehensive tutorial on hosting the static site in AWS using S3, cloudfront, Certificate Manager and Route53 - part 1

Tapan B.K. is Full Stack Software Engineer. In his spare time, Tapan likes to watch movies, visit new places.